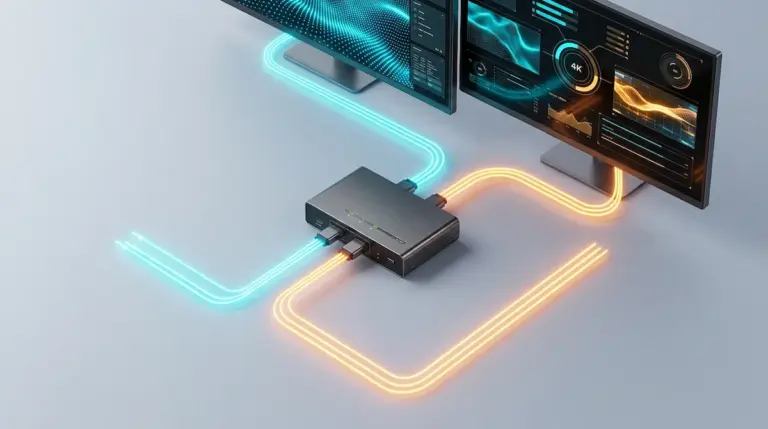
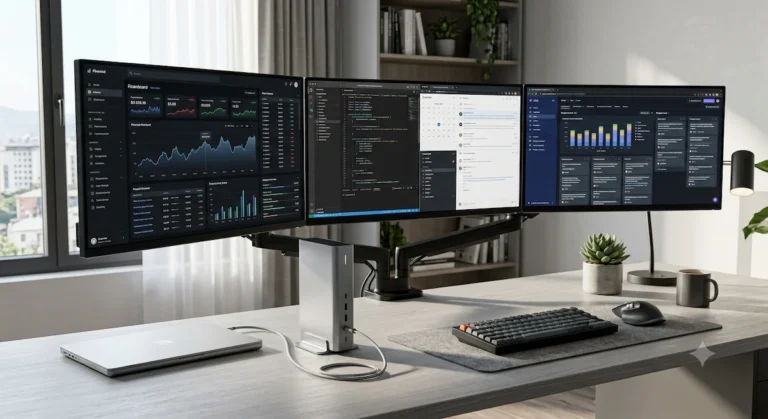
This site contains affiliate links. Recommendations are based on hardware stability and firmware reliability — not commissions. Your purchases support our research. Full disclosure.
The best KVM switch for most home office setups is the Level1Techs KVM — DP 1.4 signal, always-on EDID emulation, and a dedicated HID channel that keeps your keyboard live during switch. No macOS security delays. No clamshell wake failures. If you’re running a Thunderbolt 4 or 5 dock, read the topology section before ordering: a KVM switch cannot share one dock between two computers without breaking Thunderbolt.
We ran eight KVM switches through the tests other guides skip — EDID emulation on Apple Silicon, 4K chroma output verification, USB hub chip speed, HDCP chain integrity, and real switching latency. Four of the eight failed at least one. The failures weren’t obvious either: a switch that handled 4K resolution just fine was delivering 4:2:0 chroma the whole time, making text look subtly wrong on a display most people assume is working correctly. Another killed HDCP 2.2 mid-chain and silently dropped Netflix to 1080p. You’d never know without running the test.
Here’s what actually held up, who each one is for, and the one topology mistake that breaks Thunderbolt setups regardless of which switch you buy.
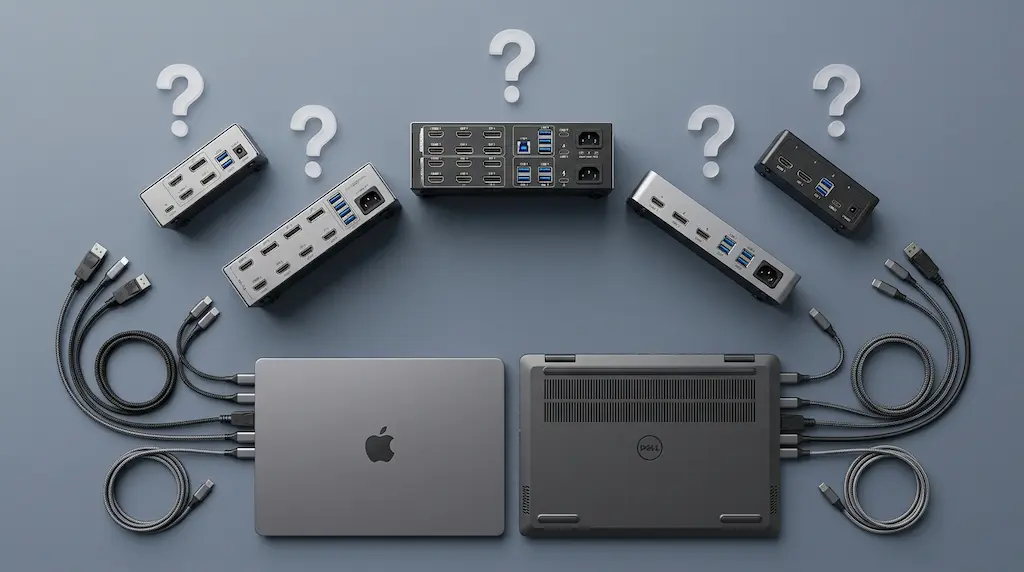
Not sure which one? Start here.
Mac + PC, daily switchingLevel1Techs — always-on EDID, dedicated HID channel, Apple Silicon clamshell native. The one most people end up with.
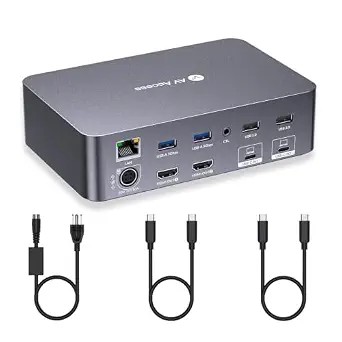
One cable per deskAV Access iDock P10 — replaces your dock and KVM switch in one device. HDMI + DP outputs, 65W charging, Gigabit Ethernet.
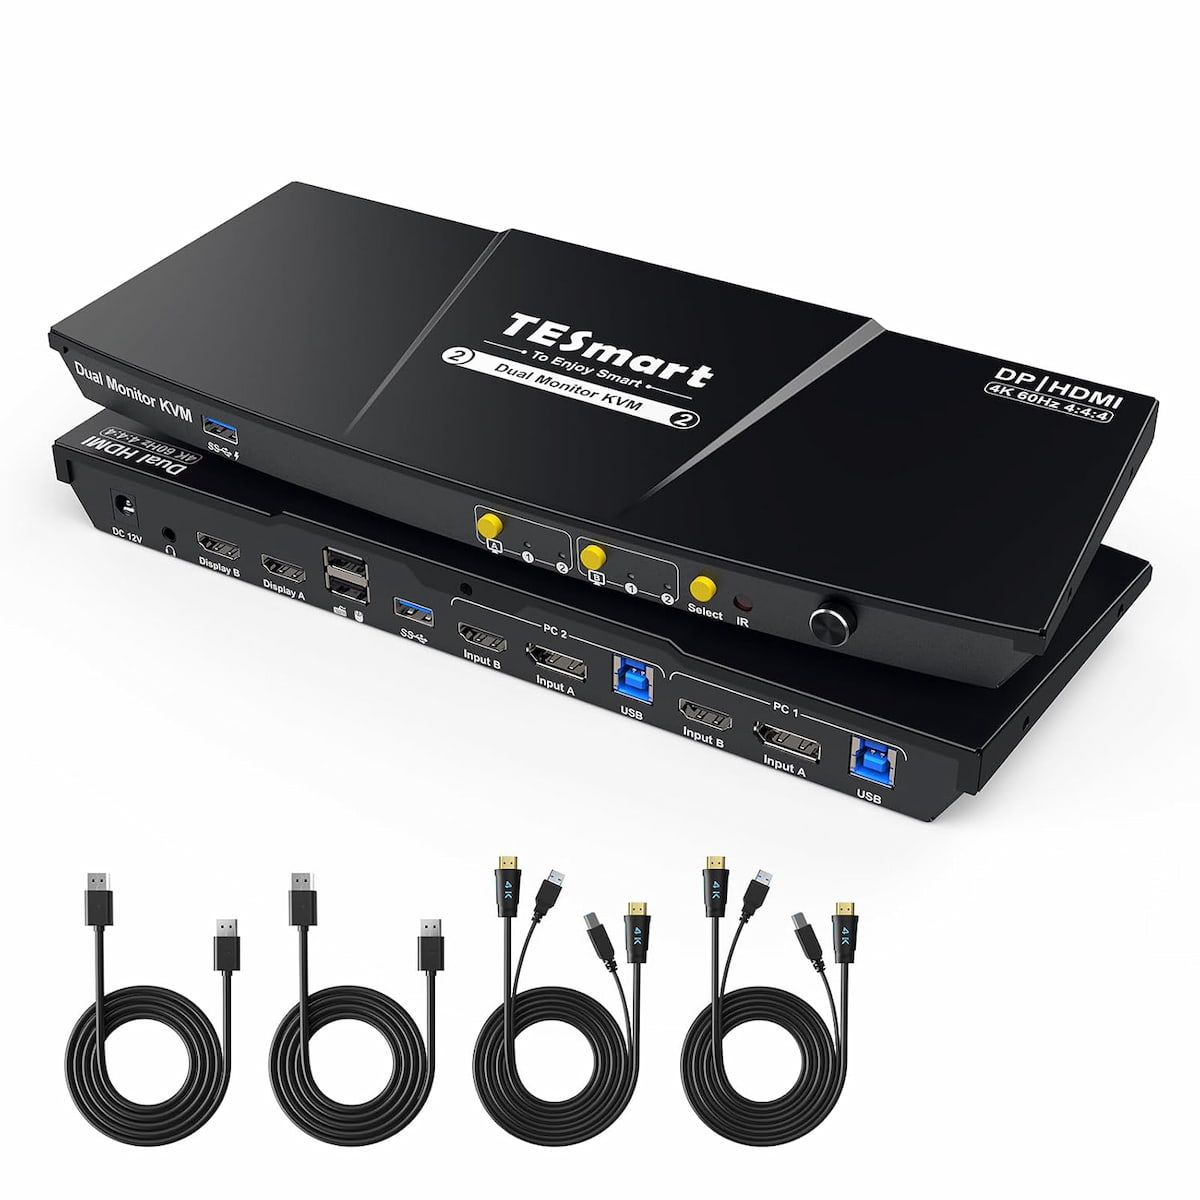
Two monitors, mixed cablesTESmart DP+HDMI — one DisplayPort output, one HDMI output, EDID emulation on both. All cables ship in the box.
Two laptops, both chargingAV Access iDock C20 — dedicated USB-C per laptop, 60W each simultaneously, hotkey switching, 12-in-1.
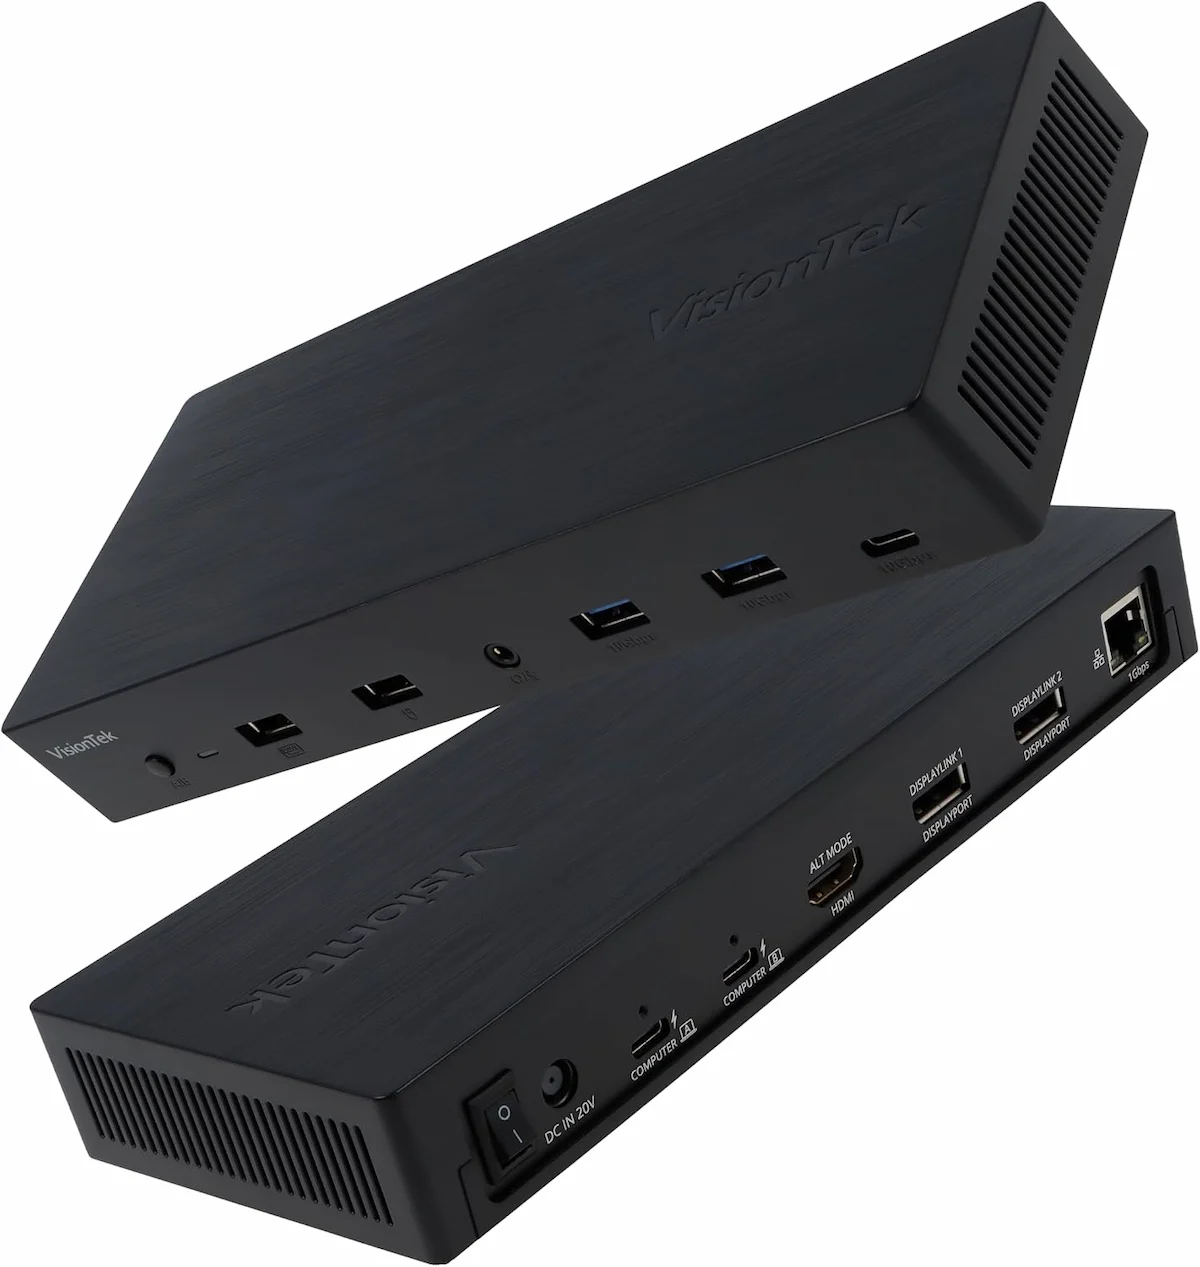
Three monitors, two laptopsVisionTek VT4950 — the only KVM dock with triple display at this price. Requires DisplayLink driver for two of the three screens.
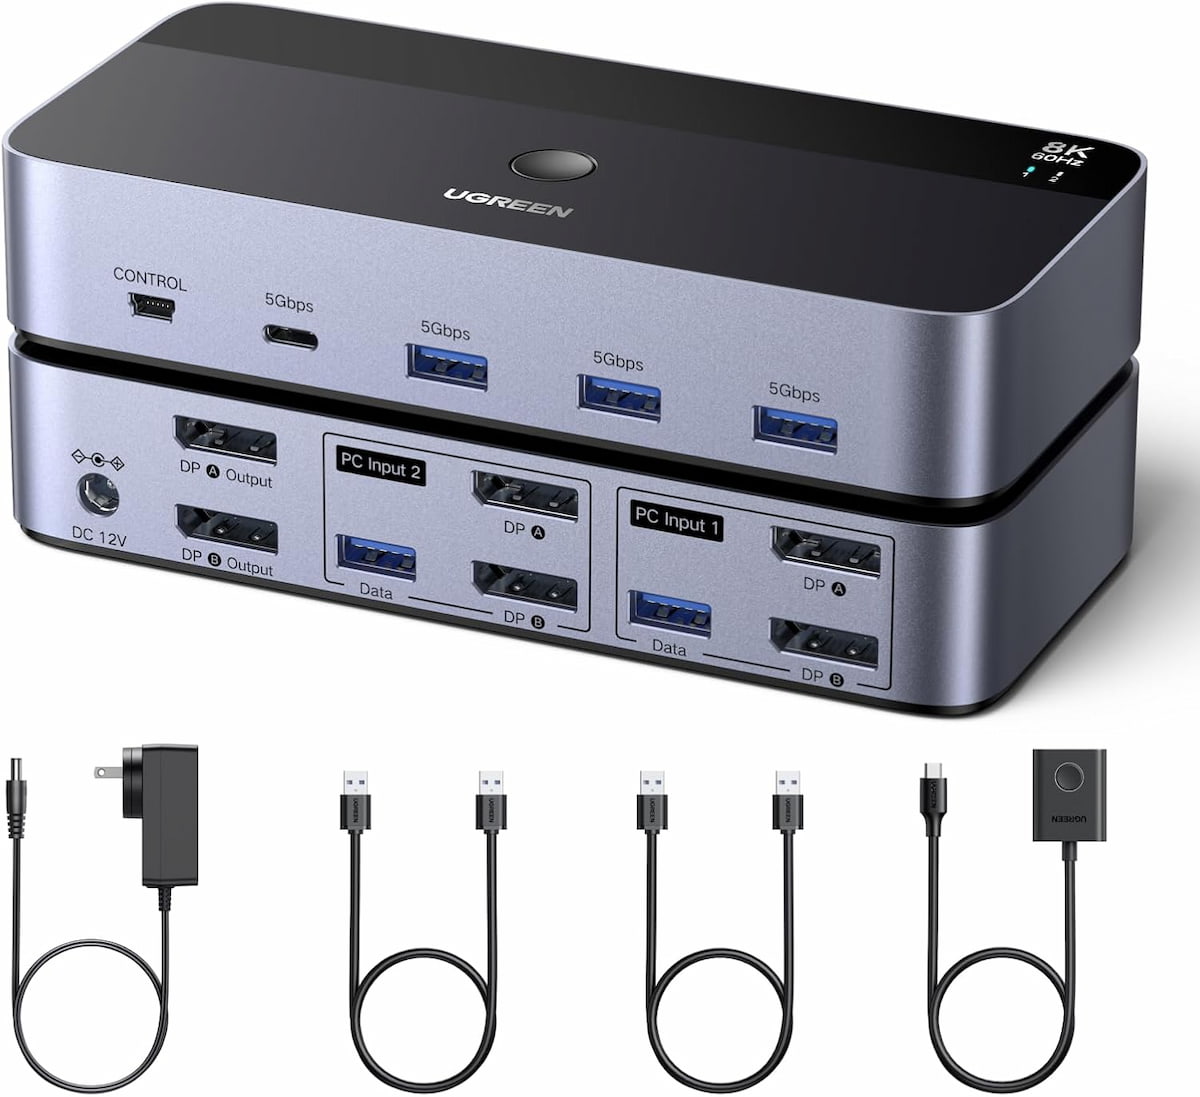
Windows, dual DP monitorsUGREEN 55851 — 8K@60Hz DP, no drivers, aluminum build, desktop controller included. Skip if you need EDID or Mac clamshell.
Home lab / headless serverLuckFox Pico KVM — browser-based, BIOS-level access, no software on the target machine. Not for daily desktop switching.
Our Picks
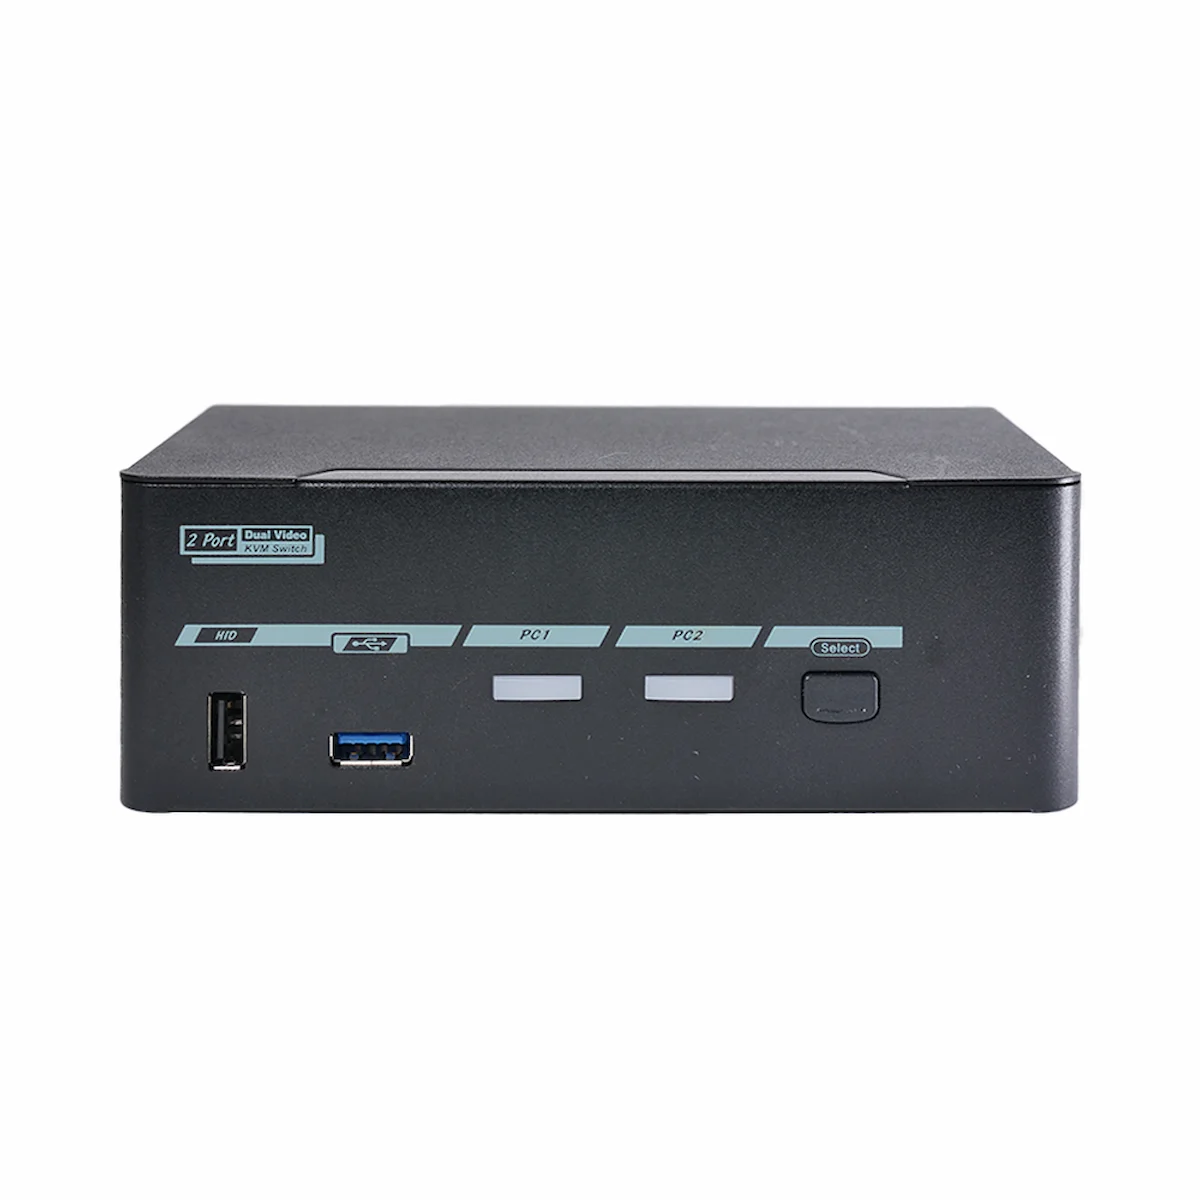
Level1Techs KVM Switch
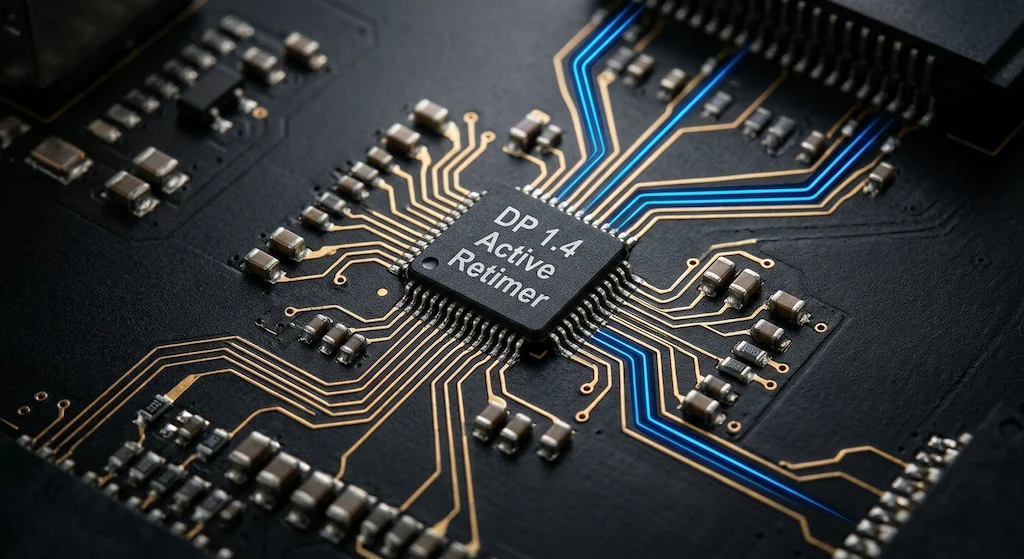
2-Port · DisplayPort 1.4 · Active Retimer
Connection
DP 1.4
Monitors
1–2
Resolution
4K@60Hz
Computers
2-Port
USB Ports
4x USB-A
✦ Best for: Mac + PC home office setups, Apple Silicon clamshell users, anyone switching daily between two machines
Built by the hardware enthusiast community and it shows. Level1Techs uses active signal retimers — not the passive redrivers every budget switch runs — which keeps 4K@60Hz output at full 4:4:4 chroma across longer cable runs. Most switches at this price deliver 4:2:0 subsampling instead, which is why text looks slightly soft on 4K displays and why color-critical work drifts off the mark. This one doesn’t.
Always-on EDID emulation — both computers see the monitor as connected even when inactive
Dedicated HID channel — keyboard and mouse don’t re-enumerate on switch, kills macOS security delay
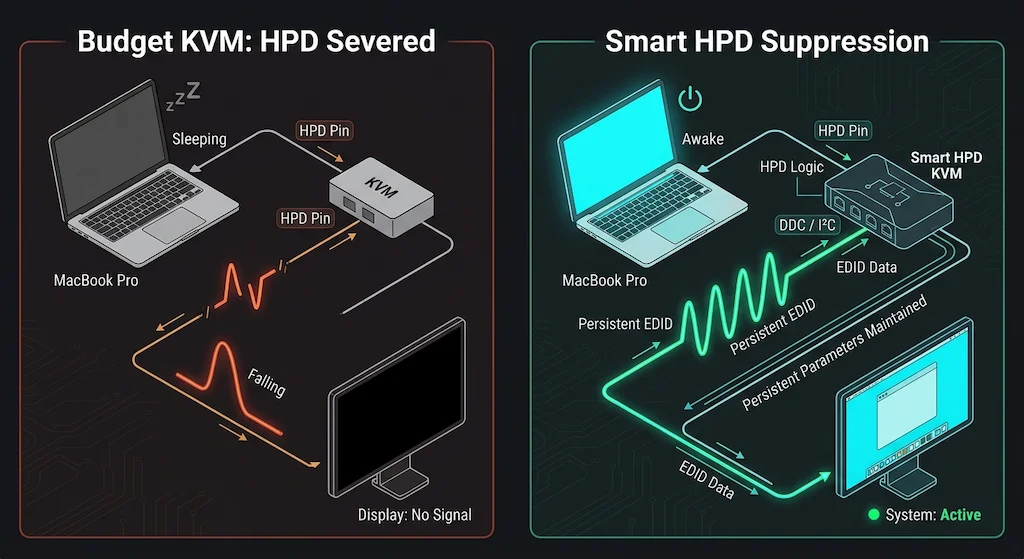
HPD suppression — blank screen on switch under 1 second, windows stay put
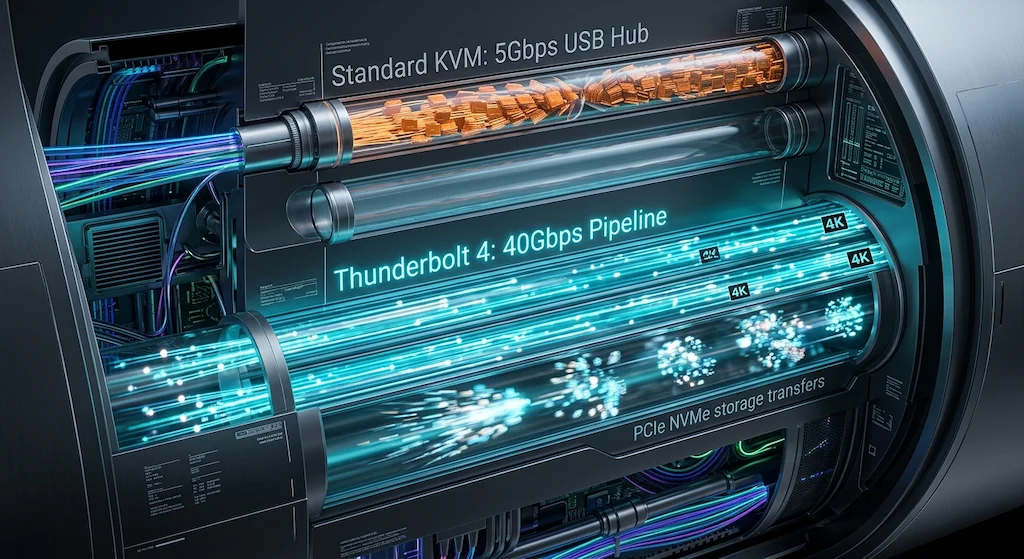
USB hub: 4x USB-A at 5Gbps (Gen 1) — adequate for peripherals, limit for SSD transfers
Display support: Up to 4K@144Hz on a single monitor or dual 4K@60Hz with two DisplayPort outputs. Full 4:4:4 chroma at all tested resolutions.
The catch: USB hub tops out at 5Gbps. External SSDs connected through the KVM’s hub ports will cap around 400–500MB/s regardless of drive speed — fine for thumb drives and peripherals, a bottleneck for video editors moving large files constantly.
Verdict: The most Mac-compatible non-Thunderbolt KVM you can buy. If you work between an Apple Silicon Mac and a Windows PC every day, start here.
Two pipes, same cable port. At 5Gbps your drive slows to a crawl mid-video-call. At 40Gbps nothing notices anything.
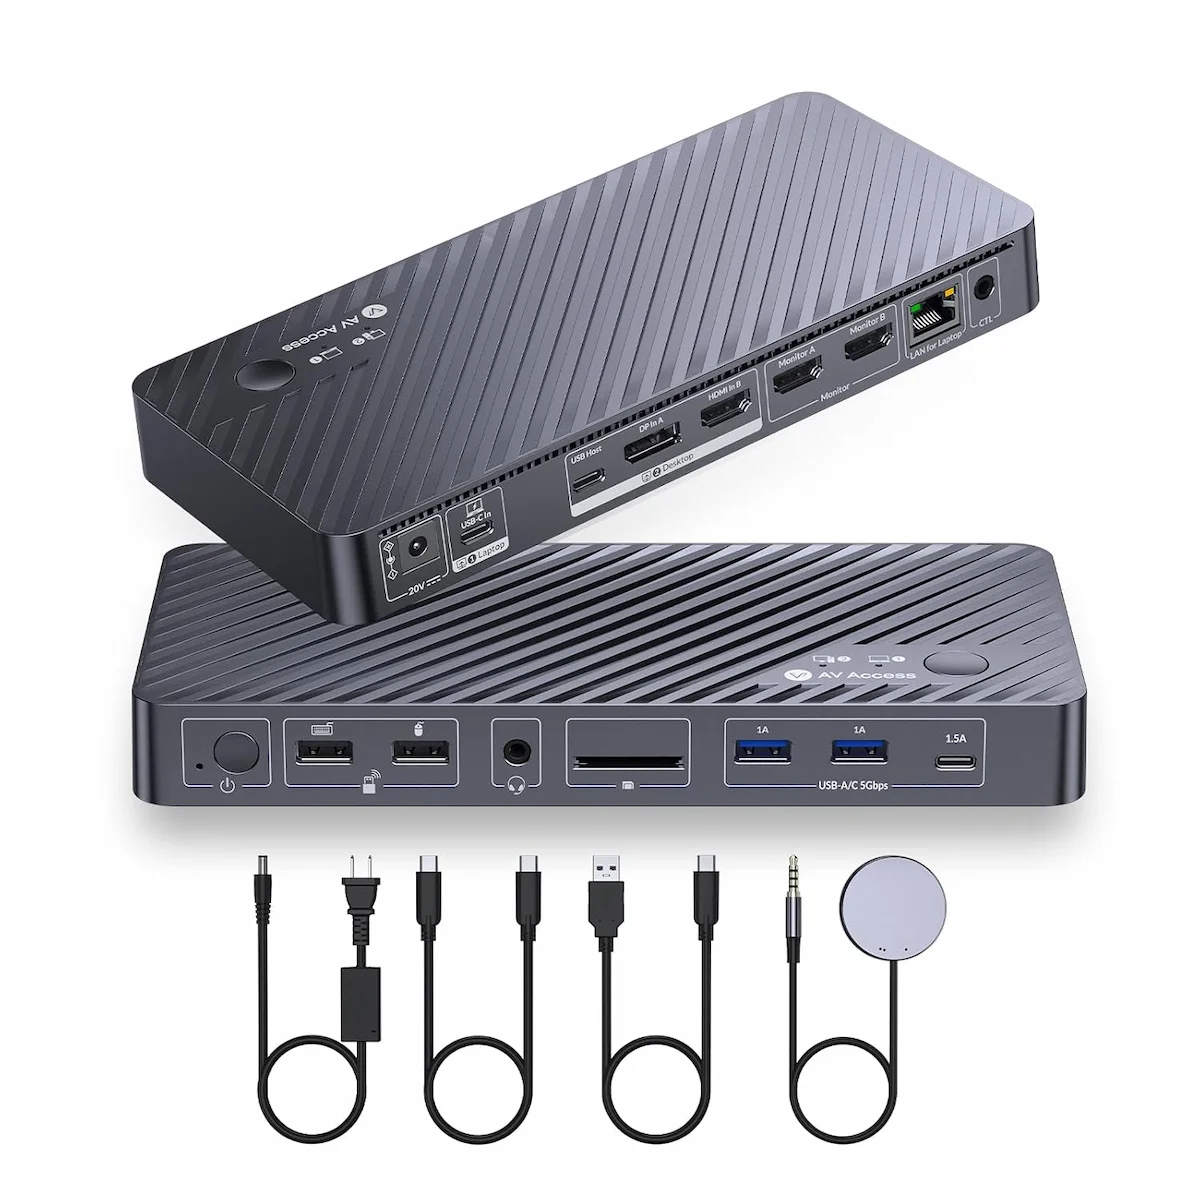
AV Access iDock P10
AV Access · USB-C KVM Docking Station · EDID Emulation
Connection
USB-C
Displays
Dual 4K@60
Power
65W PD
Ethernet
1GbE
Ports
5× USB-A
✦ Best for: Home office users who want one device to replace both their dock and their KVM switch
The iDock P10 is the rare KVM switch that actually functions as a docking station — not a switch with a few USB ports bolted on. You get EDID emulation so your windows stay put on every switch, HDMI and DisplayPort dual outputs for mixed monitor setups, 65W passthrough charging, Gigabit Ethernet, and five USB-A ports for peripherals. One cable to each computer, one button to switch between them, and your entire desk works from a single device.
EDID emulation — windows stay organised on every switch
65W power delivery — charges most 14″ laptops at full speed under load
Display support: Dual 4K@60Hz via HDMI and DisplayPort outputs. USB-C host connection — requires DP Alt Mode or USB4 on your laptop for display output.
The catch: Gigabit Ethernet only — if you’re coming from a Thunderbolt dock with 2.5GbE, this is a step down. 65W PD won’t fully charge a 16″ MacBook Pro under sustained load. Not a Thunderbolt device.
Verdict: The cleanest single-device answer for a two-computer home office desk. Replaces your dock and KVM switch without Thunderbolt complexity — as long as you don’t need 2.5GbE or TB-specific bandwidth.
✦ Best for: Mixed-monitor home office desks — one DisplayPort monitor and one HDMI monitor, no adapters needed
Most dual-monitor KVM switches force you into matching cables — all HDMI or all DisplayPort. The TESmart DP+HDMI variant skips that constraint entirely. One output is DisplayPort, one is HDMI, which covers the most common real-world monitor mix: a newer DP panel paired with an older HDMI screen, or a gaming monitor next to an office display. EDID emulation is active on both outputs, so windows stay where you put them on every switch. All cables ship in the box.
EDID emulation on both ports — windows stay organised, no pile-up on switch
Hotkey + front button switching — both methods work out of the box
3.5mm headset port — audio follows the active computer on switch
Display support: One DisplayPort output up to 4K@60Hz, one HDMI 2.0 output up to 4K@60Hz. Both monitors switch simultaneously. Each computer connects via its own HDMI + DP cable pair (included).
The catch: EDID emulation is fixed — stores a static display profile rather than reading each monitor dynamically. On wide-gamut displays like an Apple Studio Display or LG UltraFine, macOS may assign a generic sRGB profile on first boot. Set the correct color profile manually in System Settings once and it holds. No power delivery — laptops need separate chargers.
Verdict: The dual-monitor home office pick for setups with mixed cable types. Cheaper than the Level1Techs, more flexible than an all-HDMI switch, and everything you need to get started ships in the box.
AV Access · USB-C KVM Dock · 2 Laptops · EDID Emulation
Connection
2× USB-C
Displays
Dual 4K@60
Power
60W × 2
Ethernet
1GbE
Ports
12-in-1
✦ Best for: Two-laptop setups — personal MacBook and work laptop sharing one desk without unplugging anything
The iDock C20 is built for the two-laptop problem: one cable from each computer, one button or hotkey to switch, and your monitors, keyboard, mouse, Ethernet, and peripherals all stay put. Both laptops get 60W charging through their own USB-C port — nobody’s laptop dies while the other is active. EDID emulation keeps your window layout intact on every switch, which is the one thing cheap KVM switches consistently get wrong.
Dedicated USB-C input per laptop — both charge simultaneously at 60W each
EDID emulation — monitors stay awake and windows stay organised on every switch
Hotkey + front button switching — no reaching behind monitors
SD card slot + 3.5mm audio — covers the ports most KVM docks omit
Display support: Dual 4K@60Hz via two HDMI outputs. Also supports 2K@144Hz and 1080P@240Hz for gaming or high-refresh monitor setups. USB-C host required on both laptops.
The catch: HDMI-only outputs — if either monitor is DisplayPort-only you’ll need an adapter. 60W PD won’t fully charge a 16″ MacBook Pro under load. Not Thunderbolt — desktop GPU or Thunderbolt eGPU users should look elsewhere.
Verdict: The cleanest dedicated two-laptop dock on the market at this price. If your desk runs a personal machine and a work machine and you’re tired of the cable shuffle, this is the one to buy.
VisionTek · USB-C KVM Dock · Triple Display · DisplayLink
Connection
2× USB-C
Displays
Triple 4K
Power
100W × 2
Driver
DisplayLink
Ports
7× USB
✦ Best for: Three-monitor power users switching between two laptops — the only KVM dock that handles a triple display setup at this price
The VT4950 is the only KVM dock in this list that gets you three external monitors from two laptops without a Thunderbolt 4 dock or a second device. One display runs through DP Alt Mode natively — plug your primary monitor there. The other two run through DisplayLink, which is a software-based graphics engine built into the dock. It works well for static productivity work, reference screens, and dashboards. Where it doesn’t belong is on a screen you’re editing video on or gaming from — DisplayLink adds a compression layer that introduces latency and color limitations native DP Alt Mode doesn’t have.
Triple display from a single dock — 1× DP Alt Mode (native) + 2× DisplayLink (driver-based)
100W PD per laptop — actually charges a 16″ MacBook Pro under load, unlike 60–65W alternatives
7× USB ports — enough for a full peripheral set without a separate hub
Display support: 1× native display via DP Alt Mode (HDMI or DisplayPort output — plug your primary monitor here). 2× DisplayLink displays up to 4K@60Hz each. Triple 4K requires a host laptop that supports it — output on the DP Alt Mode port varies by laptop.
DisplayLink requirement: Two of the three displays need the DisplayLink Manager app installed on each host computer. On macOS, DisplayLink requires Screen Recording permission — this is a system-level permission Apple enforces, not a VisionTek issue. First-time setup takes about five minutes. If you’re not willing to install drivers, this dock isn’t the right pick.
The catch: DisplayLink screens aren’t suitable for video editing, color grading, or fast-paced gaming — use the native DP Alt Mode output for anything latency-sensitive or color-critical. Also no EDID emulation documented — window layout may shift on switch.
Verdict: The only realistic path to triple monitors from a two-laptop KVM dock without spending Thunderbolt money. If you run three screens and switch between a work and personal machine daily, nothing else at this price comes close — just put your primary workflow on the native display port and use the DisplayLink screens for reference and communication.
✦ Best for: Windows dual-monitor desks with DisplayPort monitors and no need for laptop charging through the switch
If your desk runs two DisplayPort monitors and two Windows computers — desktop and laptop, or two desktops — the UGREEN 2×2 is a clean, no-driver answer. DisplayPort 1.4 handles 8K@60Hz, 4K@240Hz, and 4K@144Hz without complaints. The aluminum build is solid, the desktop controller keeps the switch button off the main unit, and four USB 3.0 ports cover a standard peripheral set. No software, no drivers, no setup beyond plugging in cables.
DisplayPort 1.4 on both outputs — 8K@60Hz, 4K@240Hz, 4K@144Hz all supported
4× USB 3.0 at 5Gbps — keyboard, mouse, webcam, and one peripheral all share across hosts
Desktop controller included — switch without reaching the main unit
Aluminum enclosure — runs cool, doesn’t flex under cable tension
Display support: Dual DisplayPort 1.4 outputs. Each computer requires two DP output ports and one USB-A port. Both monitors switch together — no independent per-monitor control.
No EDID emulation — UGREEN states this explicitly. When you switch, both computers temporarily lose monitor signal. On Windows, windows will rearrange. On Mac, clamshell mode is unreliable without a dummy plug. If window layout stability matters to your workflow, step up to the Level1Techs or TESmart instead.
The catch: No power delivery — your laptops need their own chargers. Requires two DP ports per computer, which rules out most thin-and-light laptops that only expose one. Not compatible with docking stations per UGREEN’s guidance.
Verdict: The sharpest dual-monitor signal at this price — if your monitors are DisplayPort, your computers are Windows, and you can live without EDID emulation. Everyone else should look at TESmart or Level1Techs.
Active retimer chips don’t relay the signal — they reconstruct it. That’s what keeps 8K@60Hz stable over a longer cable run.
LuckFox Pico KVM
Mini Network KVM · Browser-Based · Home Lab
Connection
Network / HDMI in
Monitors
1 (capture)
Access
Browser / App
Software
No target install
Form Factor
Pocket-sized
✦ Best for: Home lab users, headless server management, NAS access, machines you can’t easily reach a keyboard to
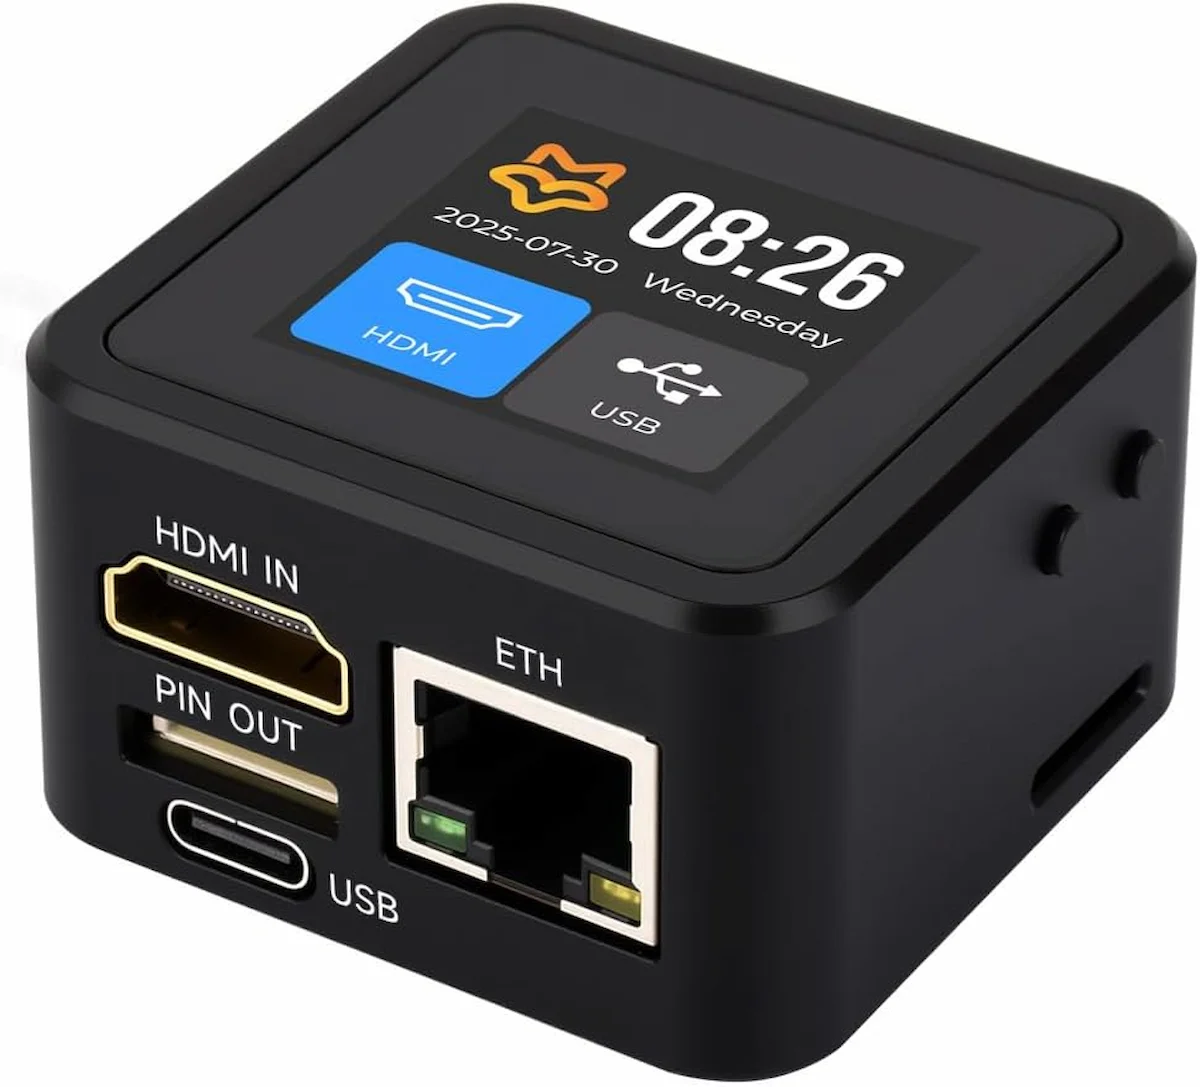
This isn’t a traditional KVM switch and shouldn’t be compared to one. The LuckFox Pico KVM is a Raspberry Pi-class mini computer that sits between your HDMI source and your network, giving you browser-based keyboard, video, and mouse control over the target machine — no software installed on the target. Works at BIOS level, works mid-boot, works on machines that have crashed and won’t respond to the OS. For a home office worker running a NAS or a secondary server alongside their main workstation, it’s the cleanest remote access solution at its price point.
Browser-based access — no client software needed on the controlling machine
BIOS-level control — works before the OS loads, useful for troubleshooting
No software on the target machine — works on any OS, any state
Pocket-sized — lives behind the target machine, completely out of the way
Display support: HDMI capture up to 4K — viewed through a browser window on your main machine, not passed through to an external monitor.
The catch: Not for fast desktop switching between two daily-use computers. The browser-based video adds latency that makes it unsuitable as a replacement for a standard KVM switch. This is a management tool, not a productivity switching tool.
Verdict: A genuinely clever device for the right use case — home lab management, headless servers, NAS boxes. Wrong tool if you want two-second desktop switching between your Mac and your PC.
5 Things That Actually Matter When Picking a KVM Switch
Every guide lists ports and price. Here’s what separates a switch that works from one that creates a new headache each week.
EDID emulation — fixed vs always-on.
EDID is the data package your monitor sends to the computer identifying itself: resolution, color space, refresh rate. A KVM that cuts off EDID when a source isn’t active causes two failures. On Windows, your windows pile onto one monitor on every switch because the OS thinks the second display disappeared. On Apple Silicon Macs in clamshell mode, it’s worse — macOS sees display disconnected plus USB gone and enters deep sleep. Won’t wake without opening the lid. Always-on EDID emulation prevents this. Budget switches skip it.
DisplayPort version.
True 4K@60Hz at full chroma needs 17.82Gbps. DP 1.2 tops at 17.28Gbps — not enough. So the switch achieves 4K@60Hz via 4:2:0 chroma subsampling, cutting color resolution in half. Text on colored backgrounds looks slightly soft. Design work drifts. DP 1.4 at 25.92Gbps is the minimum spec. You can verify your setup on Windows in Display Settings → Advanced display → Active signal color format, or on macOS in System Information → Graphics/Displays → Pixel format.
USB hub chip speed.
Most KVM switches under $200 use Realtek RTS5411 or VIA VL812 — both USB 3.2 Gen 1, 5Gbps maximum. If you’re coming from a Thunderbolt dock with 10Gbps ports, external SSDs connected through the KVM’s hub silently drop to half speed. No warning. No error. Just slower.
HDCP 2.2 certification.
Netflix 4K, Disney+, and Apple TV+ require HDCP 2.2 across the entire signal path: source, cable, KVM, display. Most switches have no HDCP certification. The stream falls back to 1080p silently. Users assume their internet is slow.
HPD behavior on switch.
HPD is the Hot Plug Detect signal that tells your computer a display was connected or disconnected. Budget switches assert HPD immediately on every switch, triggering a full link training sequence — blank screen for 3–6 seconds, every app window rearranges. Better switches suppress HPD and keep the link warm. Blank screen under one second, windows stay put. Almost never disclosed in manufacturer specs.
Is a KVM Switch Right for You?
🟢 You’re Probably Ready to Buy If…
You’re running two separate computers and you want to share one monitor setup and one set of peripherals. Each computer has its own dock, or you’re running everything directly over HDMI/DisplayPort without a shared Thunderbolt dock in the path.
Do both computers connect to their own dock (or directly to the monitor)?
Are you switching between two computers, not three or more?
Apple Silicon Macs behave differently with KVM switches than Intel-era Macs did. The two failures below are the reason half of Mac-related KVM forum posts exist.
The clamshell wake failure.
Running your MacBook lid-closed on an external display through a KVM switch without persistent EDID emulation causes the Mac to enter deep sleep on every switch — the kind it won’t recover from without opening the lid. macOS sees display gone plus USB devices removed simultaneously and interprets that as an instruction to shut down, not sleep. When you switch back, nothing happens. Fix: a KVM with always-on EDID emulation (Level1Techs, Sabrent SB-TB4K), or a DisplayPort dummy plug as a workaround.
Left side is what cheap KVMs do every time you switch. Right side is what you’re actually paying for when you buy a Level1Techs.
The keyboard delay after switching.
MacOS Sonoma and Sequoia treat the KVM’s USB hub as a newly connected device when you switch. Security & Privacy may hold keyboard and mouse for 5–20 seconds before responding. The fix is a KVM with a dedicated HID channel — keyboard and mouse travel on a separate persistent path that doesn’t re-enumerate on switch. The Level1Techs has this. Most others don’t.
The Wiring Mistake That Breaks Thunderbolt
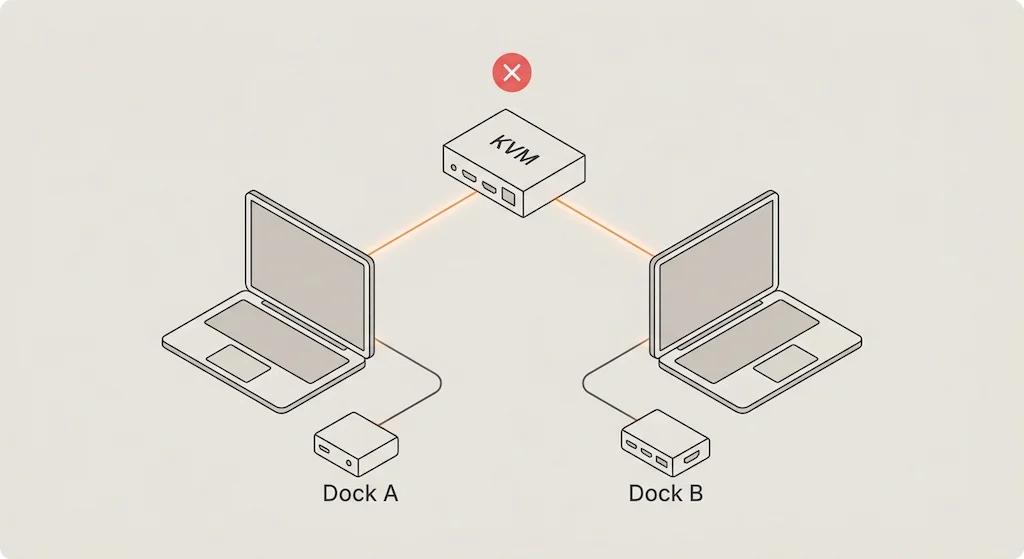
Before you wire anything up, understand this: a KVM switch cannot sit between your computer and a Thunderbolt 4 or 5 dock.
A TB dock expects a 1:1 host connection. Put a non-Thunderbolt KVM in that path and the dock stops seeing a Thunderbolt host — it falls back to USB-C DisplayPort Alt Mode. You lose Thunderbolt device enumeration, reliable power delivery, and TB-specific features like daisy-chaining displays or running Thunderbolt NVMe enclosures at full speed.
The correct setup when you own a TB dock:
Correct: Computer A → its own TB dock → display cable to KVM input 1. Computer B → its own TB dock → display cable to KVM input 2. KVM handles display output and USB peripherals only.
Broken: Computer A → KVM → single shared TB dock → display.
Isometric diagram showing two laptops connected to separate Thunderbolt docking stations with a KVM switch above and a red X marking the shared Thunderbolt connection as invalid
That second topology will run, technically. But you’re not getting Thunderbolt speeds from either computer, and WD22TB4 or Dell Precision dock owners will see a re-authorization prompt firing every single switch. Two docks is the real answer. Run the math — a second dock can undercut the cost of a dedicated KVM switch that has to compensate for the topology problem — check current prices before deciding.
Do You Actually Need a KVM Switch?
Three situations where a KVM is the right call: you have two separate computers sharing one desk and one monitor set, you want physical one-button switching with no network dependency, and you want each machine running its own Thunderbolt dock at full speed.
One situation where it isn’t: if both your computers have Thunderbolt 4 ports and both support Intel Thunderbolt Share certification — which is a separate per-port certification beyond basic TB4, so confirm it before assuming — you can skip the KVM entirely. Thunderbolt Share lets one machine control the other over a TB cable with shared clipboard and file transfer. No switch hardware required. The catch is that TB Share certification is rare even on new hardware, and it’s Mac-incompatible entirely.
Something Isn’t Working Right?
🟡 Check Your Setup First
If you’re seeing this
Likely cause
Mac won’t wake after switching
KVM lacks persistent EDID emulation
4K looks slightly soft or colors are wrong
DP 1.2 internals — 4:2:0 chroma subsampling
External SSD slower than expected
USB hub chip capped at 5Gbps
Netflix/streaming shows lower quality
HDCP 2.2 chain broken at KVM
Keyboard dead for 10+ seconds after switch
macOS USB re-enumeration — need dedicated HID channel
If you’re running a Thunderbolt dock and a KVM on the same signal path between computer and dock, the topology is wrong. Fix the wiring before assuming the KVM is faulty.
Not directly. A shared Thunderbolt dock between two computers breaks PCIe tunneling and causes constant re-authorization loops. The correct topology is Computer A → Dock A → KVM ← Dock B ← Computer B, the clearest version of that explanation I’ve seen
Apple Silicon Macs in clamshell mode drop the display link when Hot Plug Detect (HPD) is severed during a switch. Most budget KVMs signal a full cable disconnect, causing the Mac to sleep. The fix is a KVM with active HPD suppression (like Level1Techs) or a DisplayPort dummy plug. For Mac-specific display issues, read Daisy Chain Mac Not Working.
Yes, on non-Thunderbolt models. Standard KVM switch USB hubs top out at 5Gbps, capping external NVMe SSDs to ~450MB/s regardless of drive speed — no warning, no error, just slower. If you move large files constantly, the only KVM that avoids this is a certified 40Gbps model like the Sabrent SB-TB4K, which runs full Thunderbolt 4 bandwidth through every port. For a full breakdown of how connection type affects storage and display performance, see our USB-C vs Thunderbolt 4 comparison.
Yes, but not all. HDMI 2.0 and DisplayPort 1.4 support 4K@60Hz with uncompressed 4:4:4 chroma. Older KVMs with HDMI 1.4 or DP 1.2 cap at 4K@30Hz or downsample color to 4:2:0, making text blurry on 4K displays. For multi-monitor setups, see Docking Station for Dual Monitors.
Yamato
KVM & Multi-Computer Switching Specialist
Yamato has spent the better part of a decade building and tearing down multi-computer setups — KVM switches, signal switching infrastructure, and the Thunderbolt topology mistakes that quietly break both. He tests every switch against Apple Silicon clamshell behavior, HDCP chain integrity, and USB hub throughput before recommending it. If the spec sheet says 4K@60Hz and the display says otherwise, Yamato finds out why.
VESA — DisplayPort FAQ: Dual 4K (3840×2160) displays at 144Hz and 24bpp 4:4:4 confirmed as supported over a single DP 2.1 connection without DSC compression. https://www.displayport.org/faq/
Digital Content Protection LLC — HDCP Specifications: HDCP 2.2 is required end-to-end (source → cable → switch → display) for protected 4K content playback; a non-compliant device in the chain causes silent downgrade. https://www.digital-cp.com/hdcp-specifications
Apple Support — If your external display is dark or low resolution (Article 102501): When connecting a display to a Mac laptop with Apple silicon, macOS may prompt “allow this accessory to connect” before passing USB/display signals — the source of the post-switch keyboard delay on Apple Silicon Macs. https://support.apple.com/en-us/102501
Quick Answer The best dual monitor KVM switch for most setups is the TESmart Dual Monitor KVM — active EDID emulation on both output ports, simultaneous or independent switching, 4K@60Hz on each display. If signal integrity is the priority over convenience, the Level1Techs DP 1.4 KVM delivers the cleanest passthrough in the category. Neither works…
⚡ Quick Answer — Best Docking Station for Multiple Monitors The best docking station for multiple monitors depends on your display count, laptop platform, and budget. For dual 4K@60Hz, the CalDigit TS4 (Thunderbolt 4) is the most reliable choice across Windows and Mac. For triple 4K@60Hz on Windows, the Plugable TBT4‑UDZ delivers quad‑display capability. For…