Quick Answer
When your home server locks up and SSH is dead, you need hardware-level access — not Remote Desktop, which needs the OS to be running. JetKVM is the best IP KVM for home office use for most people: fast enough for real interactive work, no subscription, open source. GL.iNet Comet GL-RM1 if you travel and need Tailscale built in. LuckFox PicoKVM if your use is occasional and budget is the only constraint.
It’s 11pm and your home server has locked up. SSH times out. The machine needs someone at the keyboard — except the keyboard is in another room. Or another floor. Or 300 miles away. Remote Desktop can’t help you here. Remote Desktop needs the OS to be cooperating, and the OS is exactly the problem.
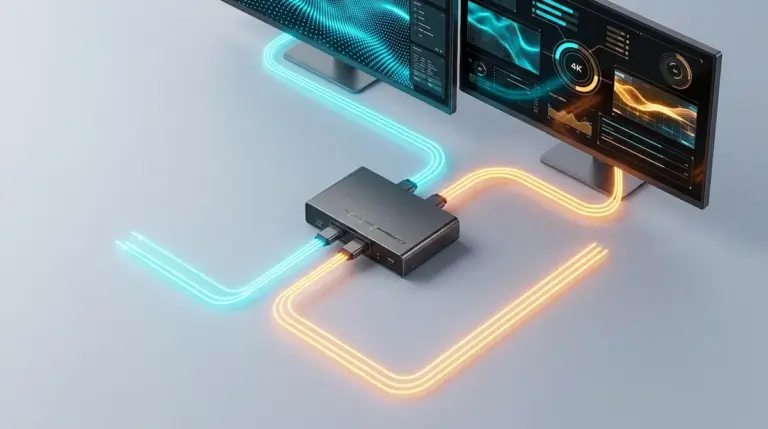
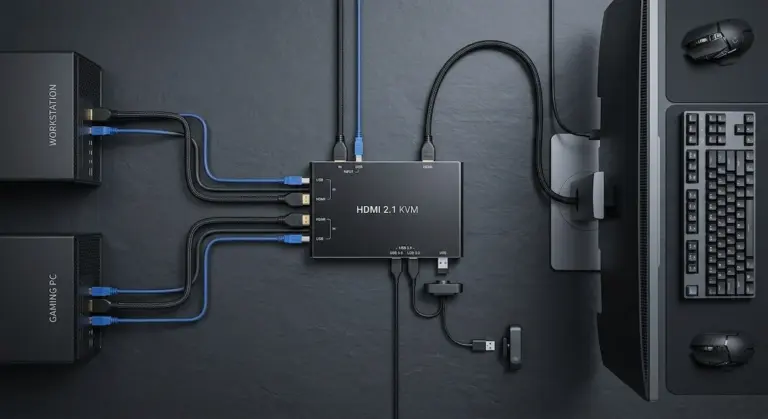
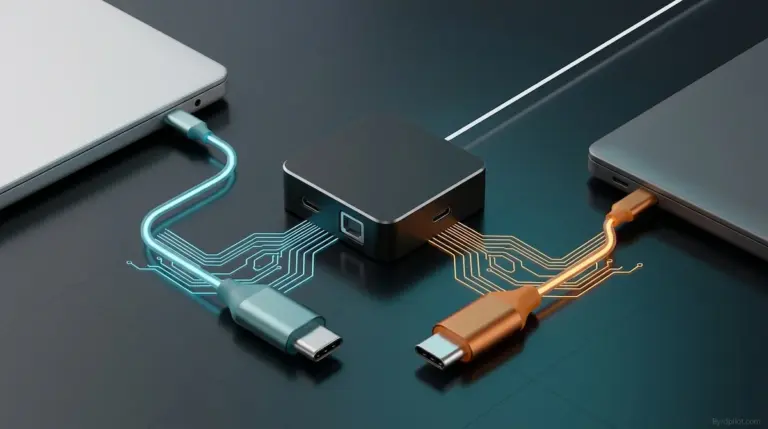
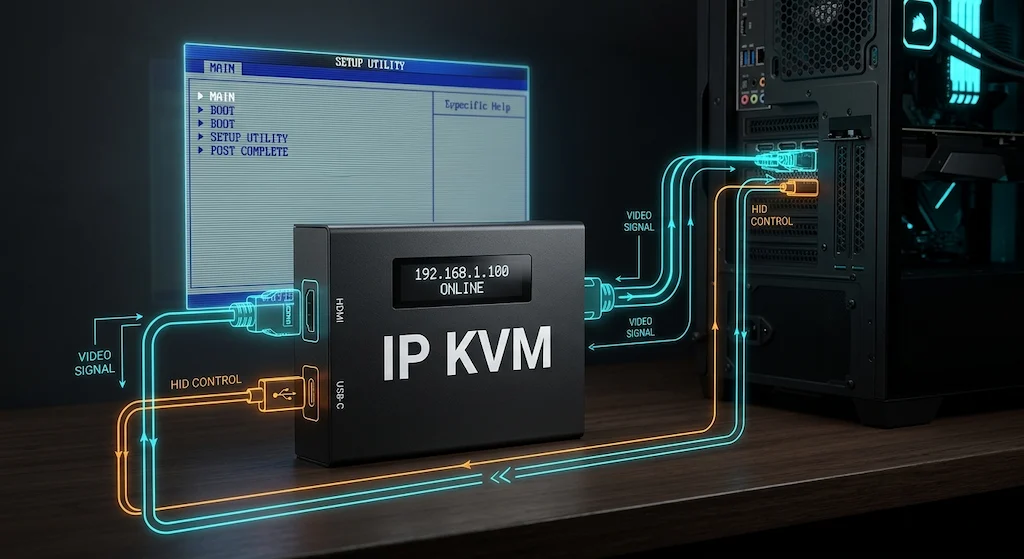
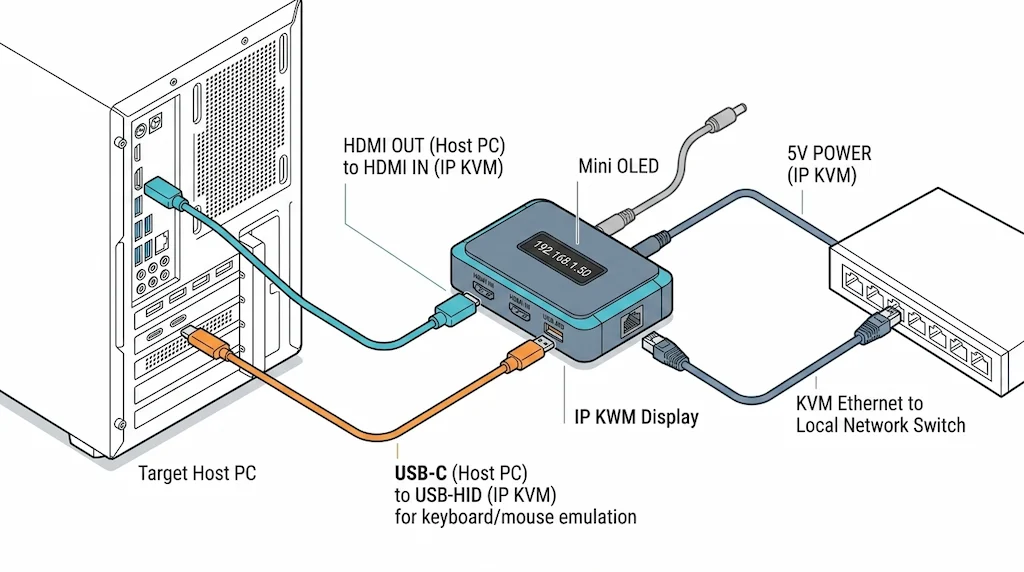
That’s the job a KVM over IP device exists for. It grabs the HDMI signal, stands in as a keyboard and mouse over your network, and hands you a browser tab that puts you in front of the machine — before anything boots, deep in BIOS, through a kernel panic, partway through a reinstall. The three picks below handle the real home office scenarios. No enterprise licensing, no networking certification required.
What Is an IP KVM — and Why Isn’t Remote Desktop Good Enough?
KVM stands for keyboard, video, mouse. KVM over IP moves all three over a network instead of a cable. The hardware is simple — an HDMI capture chip, a USB HID emulator, an Ethernet port. What those three pieces together give you is something software remote access fundamentally can’t: operation below the OS layer. The machine doesn’t need a running OS, a network stack, or a logged-in session for any of it to work. You can sit in the BIOS, watch the boot sequence, get into recovery mode before Windows loads — all the things TeamViewer and Remote Desktop are useless for because they depend on exactly what breaks when you actually need remote access.
IP KVM vs. Remote Desktop vs. Traditional KVM Switch
| IP KVM | Remote Desktop | Traditional KVM | |
|---|---|---|---|
| Works without OS | ✅ Yes | ❌ No | ✅ Yes |
| Works over internet | ✅ Yes | ✅ Yes | ❌ No |
| BIOS access | ✅ Yes | ❌ No | ✅ Yes |
| Setup complexity | Low–Medium | Very Low | Very Low |
Traditional KVM switches are the right answer when co-location is the situation — machines within reach, no remote access over the internet needed. If that’s the setup, a standard KVM switch is simpler and cheaper. The best KVM switches guide covers that side of the decision.
Do You Actually Need an IP KVM? Three Questions
Thirty seconds. Run through these before buying anything:
- Is the machine somewhere physically separate — different room, floor, building?
- Do you ever need BIOS access, OS installs, or recovery while the OS is down?
- Would you need to reach it from outside your own home network?
All three no: a traditional KVM switch is what you want, not this. Even one yes: keep reading.
If you’re running dual monitors, the KVM Switch for Dual Monitors guide is the better starting point.
If the monitors are HDMI-only and the machines are within reach, the HDMI KVM switch guide is the right category instead.
One thing to sort first — if the machine is nearby and remote power-on is the only problem, Wake-on-LAN is simpler than an IP KVM. But WoL is Layer 2. It’s a local broadcast. The moment you need to fire it from a hotel room through a Tailscale tunnel, you’re back to needing a device that maintains local network presence on your behalf.
The Best IP KVM Picks for Home Use
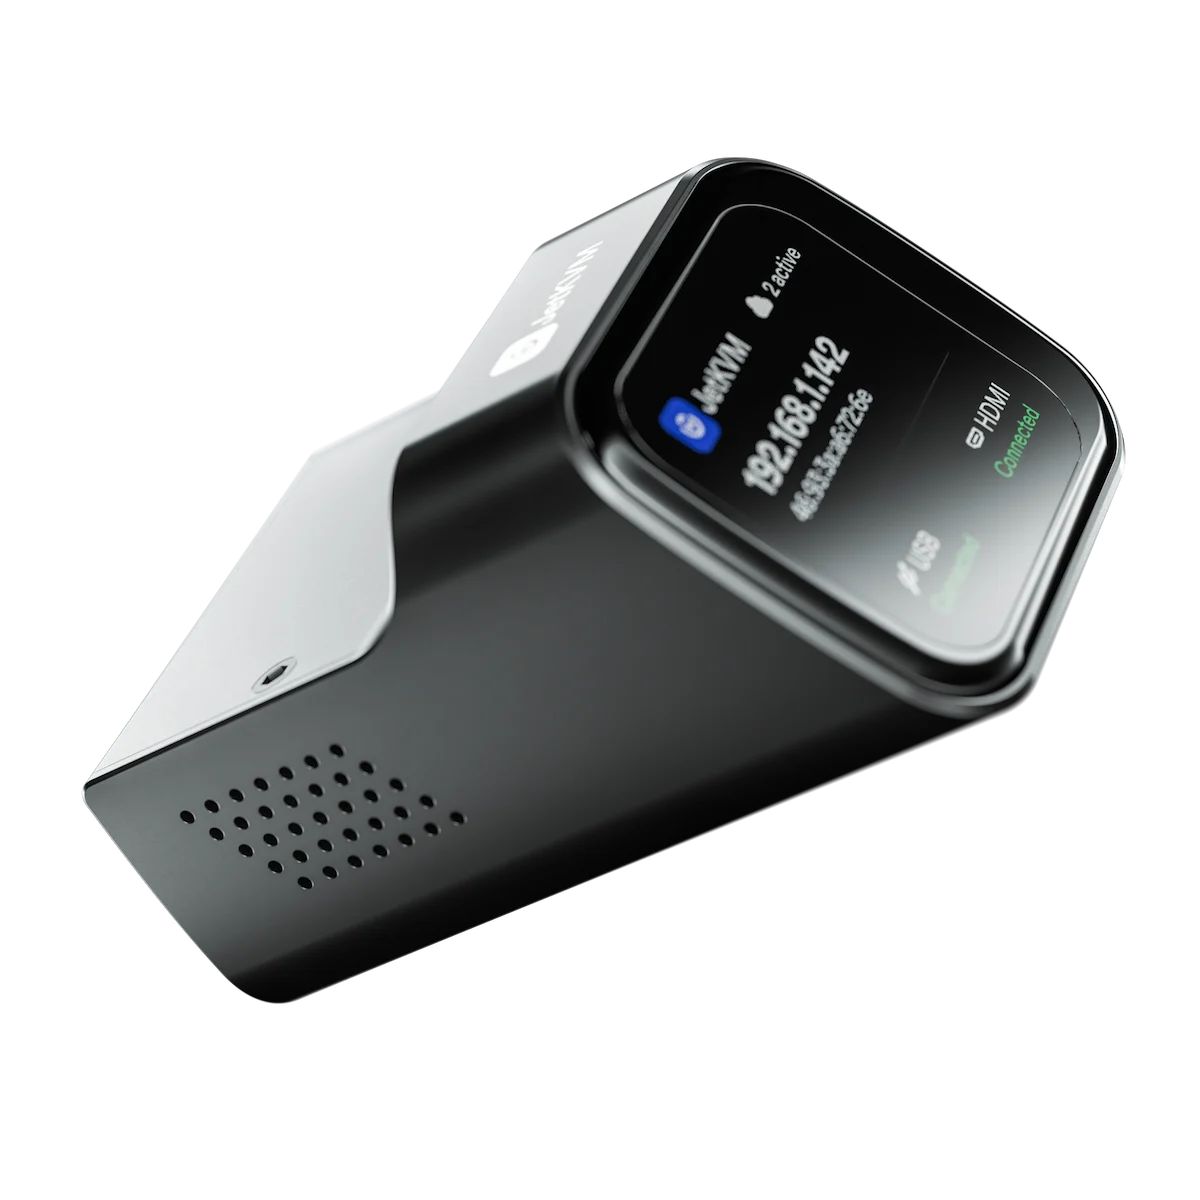
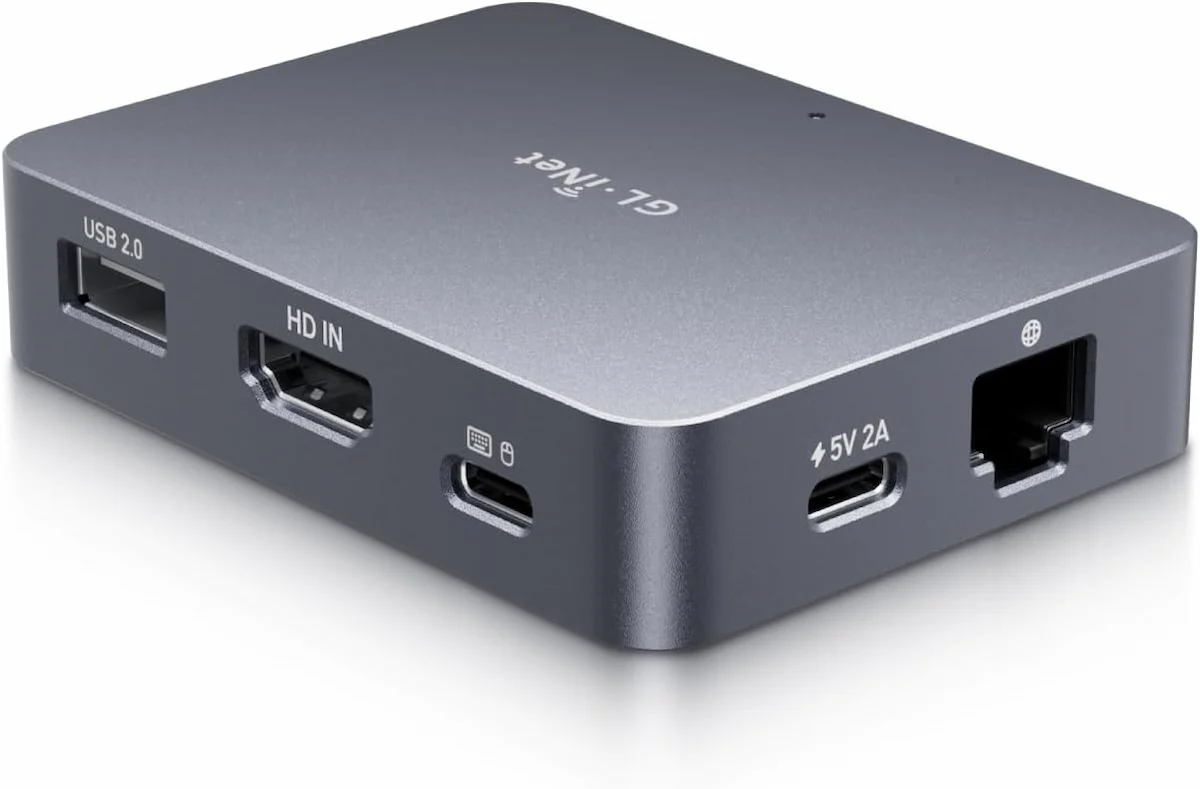
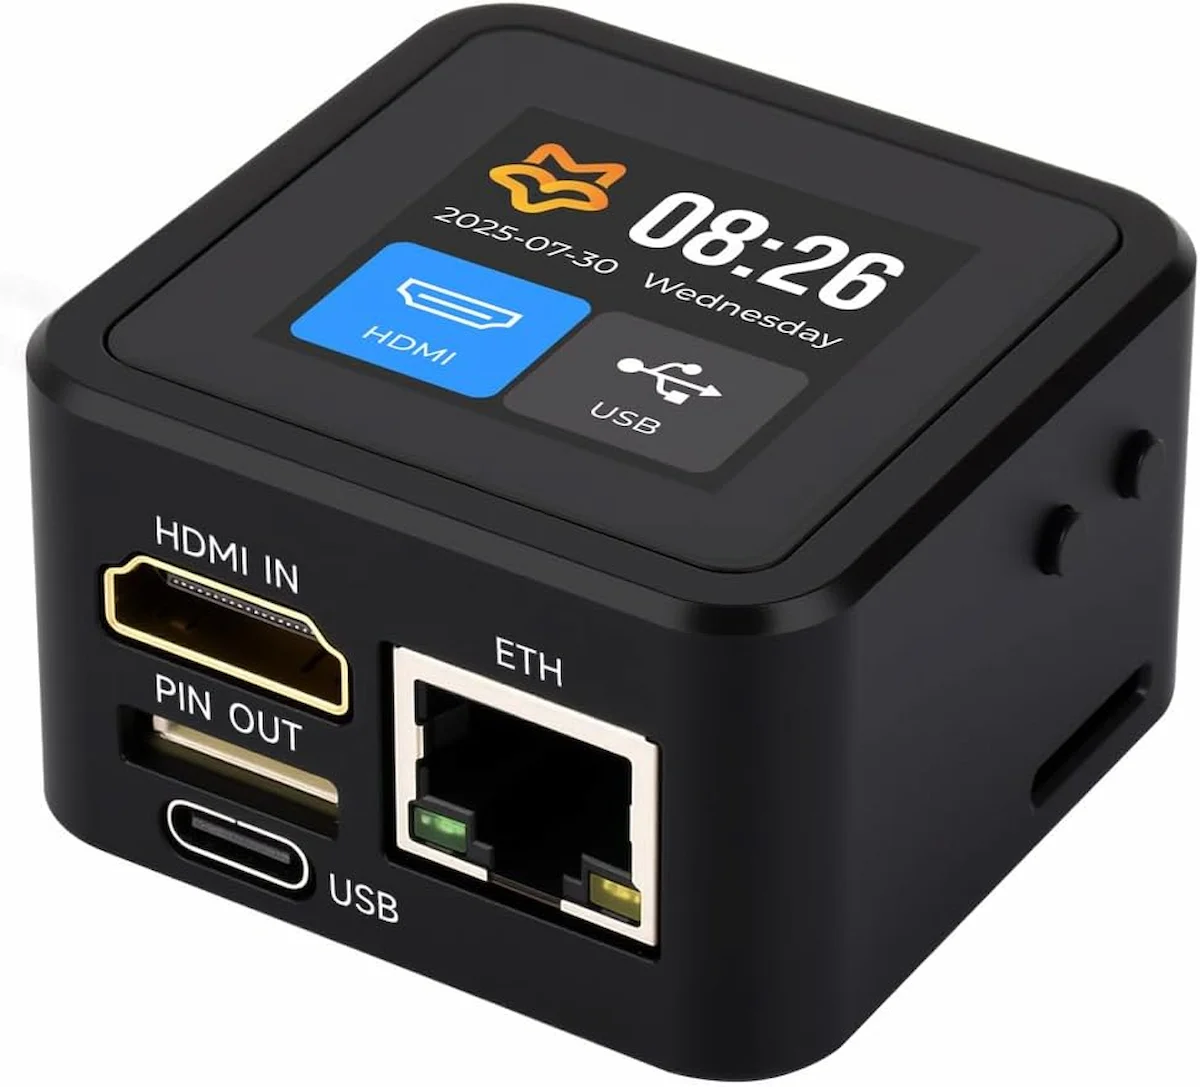
No enterprise gear. No subscriptions that quietly become mandatory. Nothing that goes dark the moment a vendor’s cloud has a bad day. The three IP KVM switches below map to the actual home office situations worth solving — fast local access for daily use, proper remote-first access for travel, and a budget option for machines you rarely touch.
What About TinyPilot and Raspberry Pi DIY?
TinyPilot Voyager 3 sits well above where this guide lives — it earns its place when you’re managing hardware for a team and vendor support actually matters. Raspberry Pi running PiKVM is the most flexible option in the category by a wide margin, but it assumes you’re at ease with SSH, config file editing, and whatever breaks during a firmware update. Neither one is aimed at the person who just wants a home lab machine accessible when it misbehaves.
Latency — What the Numbers Mean
The spec sheet number is a starting point, not the whole answer. JetKVM’s community-reported 30–60ms on a local network is tight enough that you stop thinking about it — BIOS navigation feels normal, terminal typing lands where you expect it. LuckFox at 80–200ms (community-reported) is workable for clicking through menus and watching installers progress, but real typing starts to feel wrong. Codec matters here too: H.264 over WebRTC, which is what JetKVM uses, produces lower perceived latency than MJPEG at equivalent bandwidth. If a spec sheet says MJPEG, plan for the high end of whatever latency range they’re claiming.
Cloud Dependency
Some IP KVMs need to check in with the vendor’s servers to work at all. When those servers have a problem, so does your access — typically at the worst possible moment. All three picks here are local-first: they work on your home network without any account, any cloud service, any dependency on whether a third party is having a good week. Tailscale on the GL.iNet Comet is additive — it extends access over the internet, but the device works fine without it.
Before You Set It Up — Two Things to Do While You Still Have Physical Access
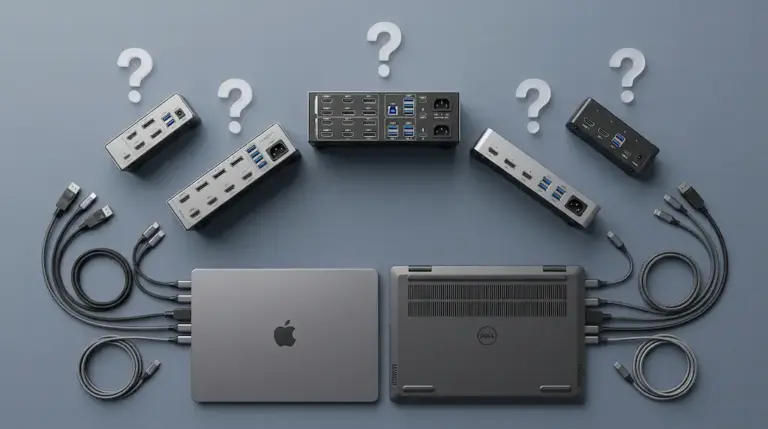
Note: Getting the dock right matters before any of this works. If your laptop home server or NAS runs through a docking station, you need native Thunderbolt video passthrough — not a DisplayLink-based hub. The Best Docking Stations guide separates the two, with picks that work correctly for headless and KVM-connected setups. (verify slug — confirm article exists at that path)
Enable “USB power in S5” in BIOS now — or run the KVM off its own power supply. JetKVM and GL.iNet Comet are both bus-powered from the host’s USB port. In S5 — full power-off — most consumer boards cut 5V to USB. The KVM loses power, drops off the network, and that’s that. You have two options: dig into BIOS and enable USB power in S5 (it shows up as “Erp Ready: Disabled” or “S5 USB power” depending on the board) before the machine goes somewhere you can’t reach it, or power the KVM from a small USB charger so it’s never dependent on host state.
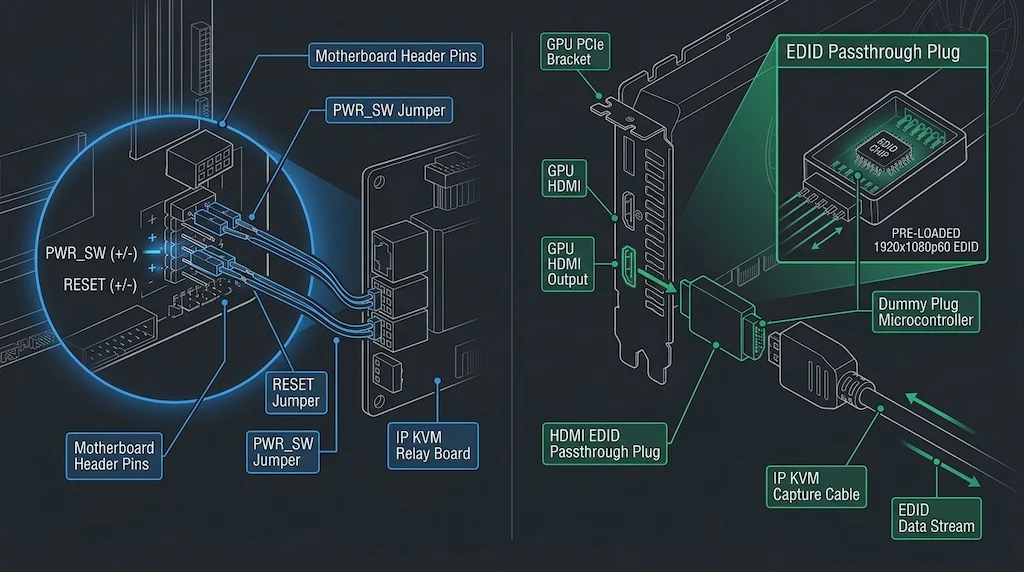
WoL and ATX power control are not the same thing. Wake-on-LAN sends a magic packet to the NIC. It needs the NIC to have standby power, the KVM to be online to deliver the packet, and WoL enabled in BIOS — all three simultaneously. The JetKVM ATX add-on board and the GL.iNet Comet’s GPIO header take a completely different approach: they wire directly to the motherboard’s power button header and physically simulate a button press. No standby power required. No WoL setting required. No USB power in S5 required. The machine just gets a button press. If your machines ever shut down completely or stop responding to WoL, the ATX add-on is worth getting.
Set the KVM’s output as the Windows primary display before going headless. On boot, Windows assigns monitor numbers by EDID handshake order. If the KVM-connected output isn’t the primary, the login screen shows up on a physical monitor you’re not looking at. Do this now, while you’re still in the room: right-click the desktop, Display Settings, drag the KVM monitor to position 1, set as primary.
Using a docking station? DisplayLink docks (DL-6xxx chipsets) don’t output native HDMI in clamshell mode — the KVM captures nothing. Use the laptop’s own HDMI port, or a Thunderbolt dock with native video passthrough: CalDigit TS4, OWC Thunderbolt 4. Not a DisplayLink dock.
NVIDIA discrete GPU and black capture signal: Consumer GeForce cards don’t have an HDCP toggle in NVIDIA Control Panel — that option exists only on Quadro. If the KVM feed goes black and stays black, two real fixes: route the KVM through the motherboard’s video output (set iGPU as primary in BIOS, connect KVM’s HDMI cable to the motherboard port, not the GPU); or use an HDMI dummy plug if there’s no iGPU available — a passive dongle that tells the GPU a non-HDCP sink is attached. Results vary by driver. Test this while you still have physical access.
ATX Power Control
This is the option that lets you trigger a hard reset when the machine is completely frozen — not just OS-unresponsive but nothing-responds frozen. JetKVM sells an optional add-on board for it. GL.iNet Comet supports it through GPIO header connections. Worth buying if your machines tend to lock up hard rather than just going unresponsive at the software level.
Virtual Media and ISO Mounting
A few IP KVMs can mount a disk image from your controlling machine as though it were a USB drive physically plugged into the host — hit F11 at boot, pick the virtual USB, and install an OS over the network without touching anything. JetKVM supports virtual media and ISO mounting from its web interface. LuckFox PicoKVM Basic doesn’t mention it in the documentation; verify before assuming. If remote OS reinstalls are a real scenario for you, confirm virtual media support before buying. Without it, you get screen, keyboard, and mouse access — but you can’t drop a recovery image onto the machine from the other side of the network.
Our Pick for Most Home Office Users
JetKVM for the majority of situations. The latency holds up for real interactive work, it’s open-source, there’s no subscription, and the community around it is large enough that edge cases get surfaced and fixed on a reasonable timeline. Traveling regularly, or need access from outside your own network? GL.iNet Comet GL-RM1 with Tailscale wired directly into its management UI — one configuration step, not a VPN project. LuckFox Basic if the machine genuinely only needs attention a few times a year and the budget is the only constraint.
Still weighing IP KVM against a traditional KVM switch setup? If the machines are in the same room and internet access isn’t part of the picture, the KVM switch guide covers both sides of that call.

Yamato
Technical Contributor · KVM & Switching Infrastructure
Yamato focuses on KVM switches, IP remote access hardware, and the networking layer underneath. His testing zeroes in on the failure cases — BIOS cursor bugs, HDCP black screens, WoL chain failures — the stuff that only shows up after the machine is already headless and inaccessible.
Sources & References
- JetKVM — hardware specs, RV1106G3 SoC, WebRTC streaming, ATX add-on board.
https://github.com/jetkvm/kvm - GL.iNet Comet GL-RM1 Documentation — 4K@30fps HDMI capture, 100Mbps Ethernet, Tailscale integration, WoL, GPIO ATX support.
https://docs.gl-inet.com - Tailscale Documentation — WireGuard-based overlay network, Layer 3 operation, subnet routing, Wake-on-LAN local broadcast behavior.
https://tailscale.com/kb/1019/subnets - NVIDIA Control Panel Help — HDCP enforcement on discrete GPU outputs, consumer GeForce vs Quadro driver differences. nvidia.com/content/Control-Panel-Help